Embroidery · Guide
Embroidering the TagTales tag
The tag is the same fleece that embroiderers already love on the Tummi Bears belly, and because it hangs on a cord it floats over a hoop without the body in the way. Names, dates and monograms look premium stitched.
At a glance
- Hooping
- Float on stabiliser, or clamp frame
- Stabiliser
- Medium tearaway or cutaway
- Needle
- 75/11 ballpoint
- Thread
- 40wt polyester
- Design area
- Up to 7 x 4.5cm
- Topper
- Optional water-soluble
Starting points, not gospel. Follow your ink, film, vinyl or thread maker's instructions and test one tag first.
Embroidery is the method that makes a TagTale feel like an heirloom. A stitched name on soft white fleece, framed by the blanket-stitched edge, is exactly what the tag was designed for. And because the tag hangs free on a cord, none of the usual difficulty of embroidering a soft toy applies.
Step by step
-
Digitise for fleece
Keep the design within 7 x 4.5cm. Use a light-to-medium density with an underlay, and prefer satin stitches for lettering. Keep letters at least 6mm tall. Very dense fills pucker a small fleece panel.
-
Hoop the stabiliser only
Hoop a piece of stabiliser without the tag. This keeps the tag flat and unmarked by the hoop, and means the plush body never needs to go anywhere near the frame.
-
Float the tag
Lightly spray the stabiliser with temporary adhesive, or use a sticky stabiliser, and press the tag onto it, grommet end away from the design. Let the plush body rest on the machine bed beside the hoop, cord slack.
-
Baste in place
Run a basting or placement stitch around the design area to hold the tag while it stitches. Add a water-soluble topper on top if you want the stitches to sit crisply on the pile.
-
Embroider
Stitch the design with a 75/11 ballpoint needle and 40wt polyester thread. Watch the first few hundred stitches to confirm the tag is not shifting or the cord snagging.
-
Finish
Remove the basting, tear or cut the stabiliser away close to the stitching, and remove any topper. Trim jump stitches. Check the back: the stitching shows on the reverse of the tag, which most customers like, but a small felt backing can be added if preferred.
Tips from the bench
- Fleece is low-pile, so a topper is optional rather than essential. Use one for fine lettering or light thread on the white fleece.
- The blanket-stitched edge is a natural frame. Centre designs with about 8mm clear of it on all sides.
- Keep the plush body away from the needle bar and presser foot. Resting it beside the hoop, or in a small basket on the bed, works well.
- A clamp or magnetic frame lets you hoop the tag itself in seconds without marking the fleece, which is ideal for batches.
- Names, dates and a single small motif look premium. Crowded designs at this size do not.
Questions
Do I have to hoop the plush?
No. Because the tag is attached by a cord, you float the tag on hooped stabiliser and leave the body on the machine bed. That is the whole reason the tag was designed this way.
Will the needle damage the tag?
A 75/11 ballpoint needle parts the fleece fibres rather than cutting them. Sharp needles and very dense designs are what cause holes and puckering.
Can I embroider on the plush body instead?
We do not recommend it. The pile is deep, the body is filled and weighted, and the safety testing covers the toy as supplied. Keep decoration to the tag.
What about the back of the tag?
Stitches show through on the reverse of the tag. Most customers see that as part of a hand-finished look. If you prefer a clean back, bond a small piece of white felt or fleece over it.
Try it on
Characters to practise with
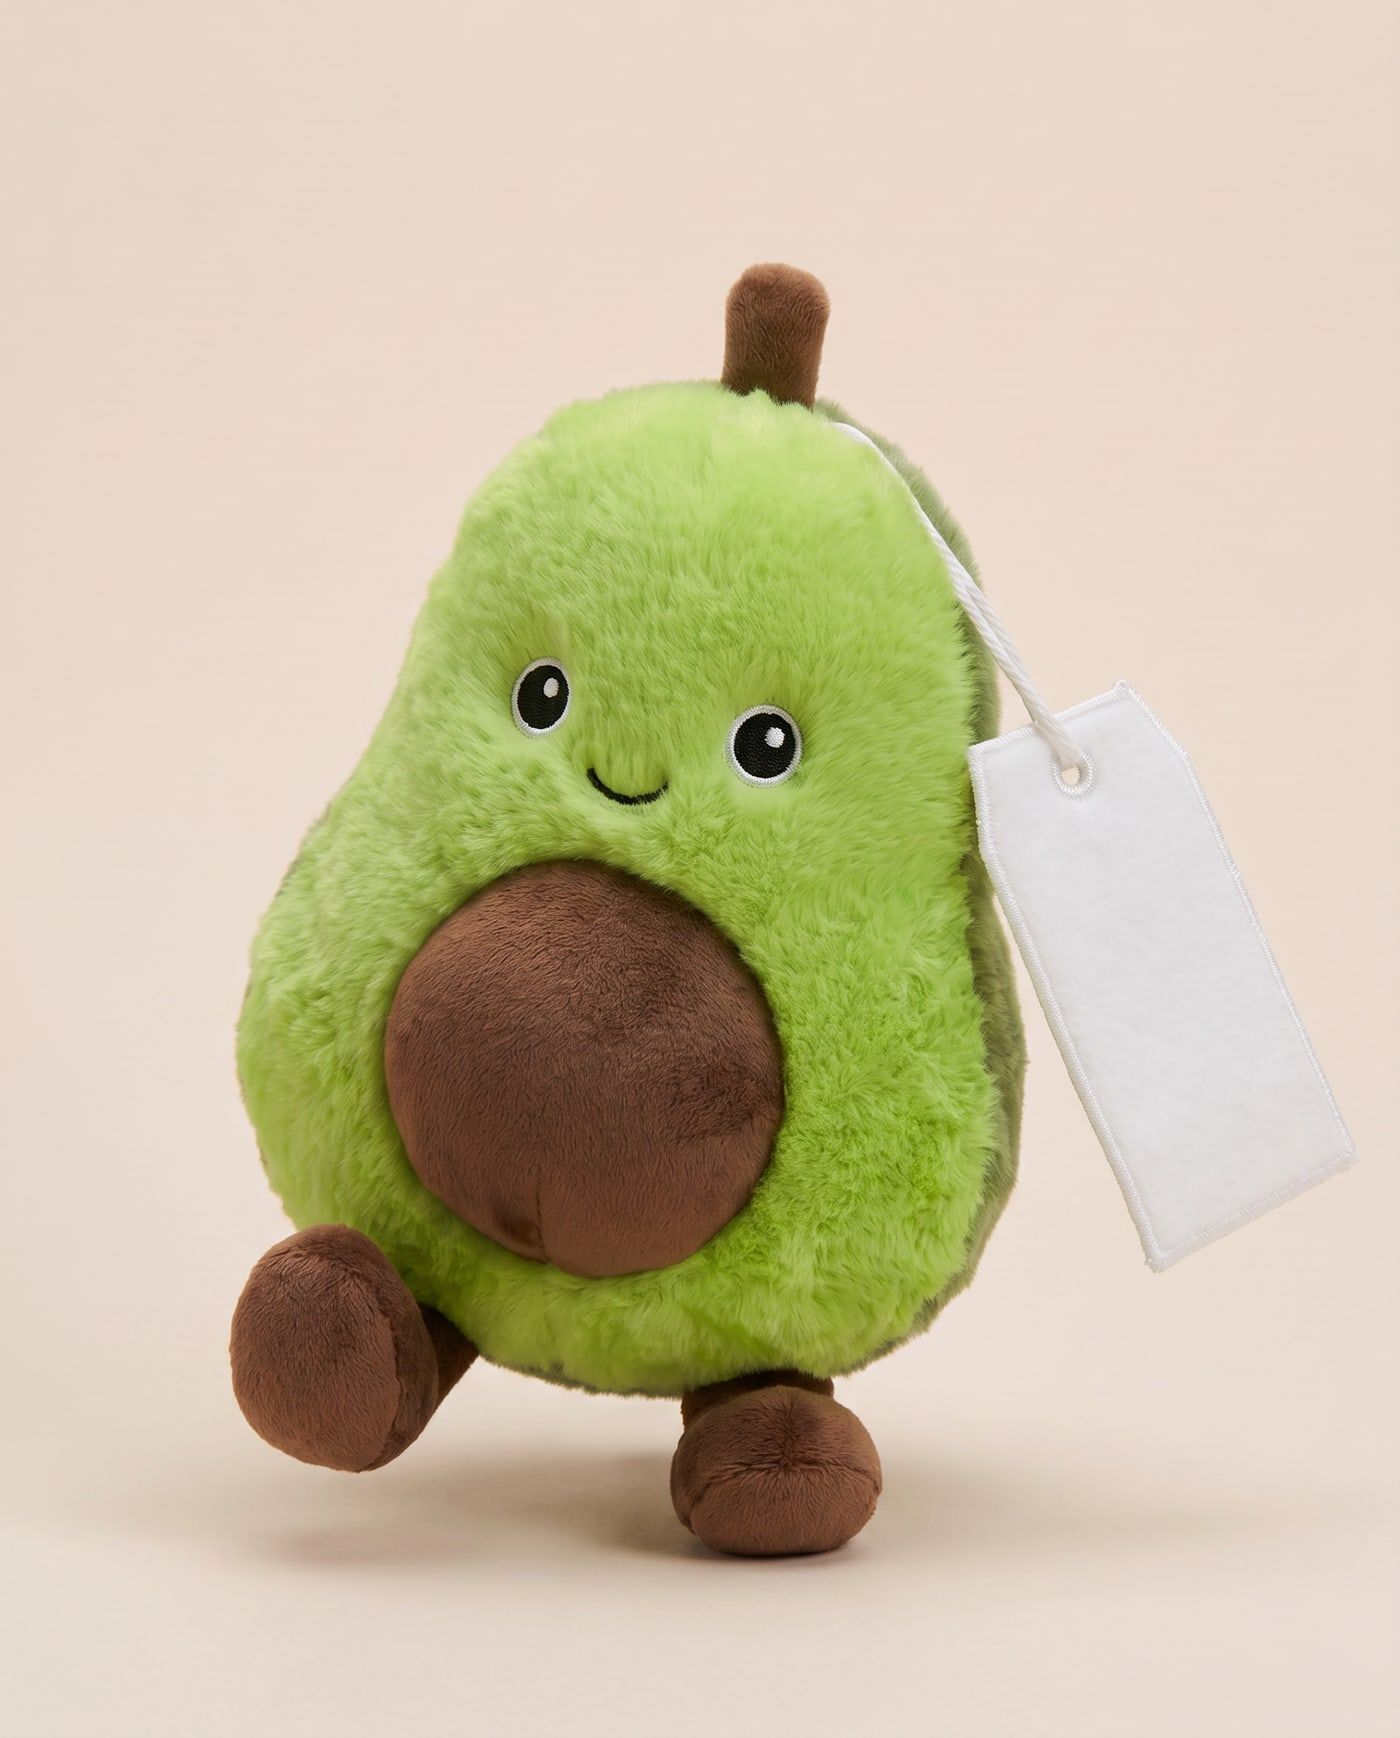
Arlo the Avocado
Meet Arlo – bright green plush on the outside, paler green on the inside, with a glossy brown stone face front and centre.
Meet Arlo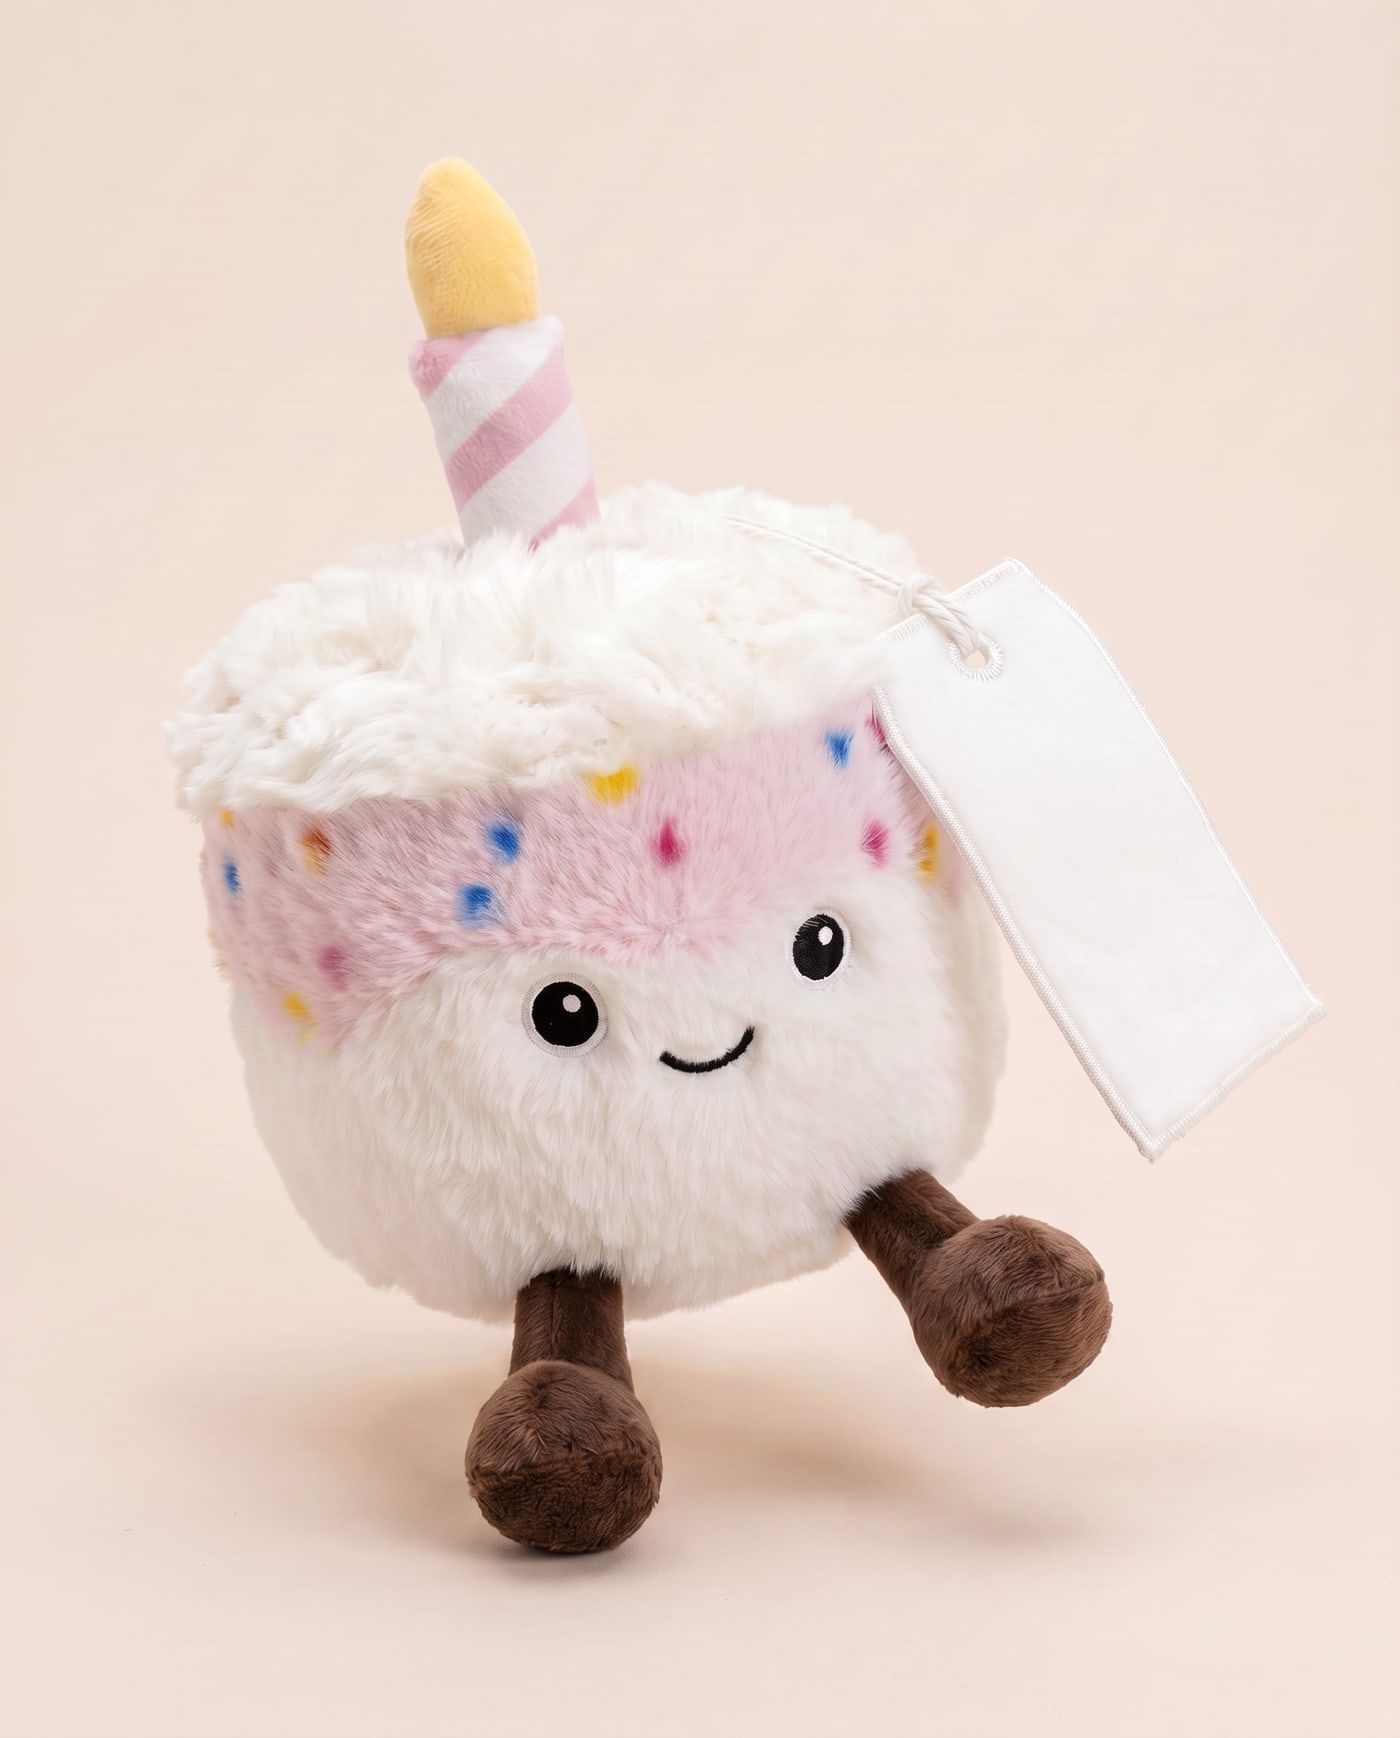
Betty the Birthday Cake (Pink)
Meet Betty – soft cream sponge body, drippy pink icing, and a striped pink-and-white plush candle on top.
Meet Betty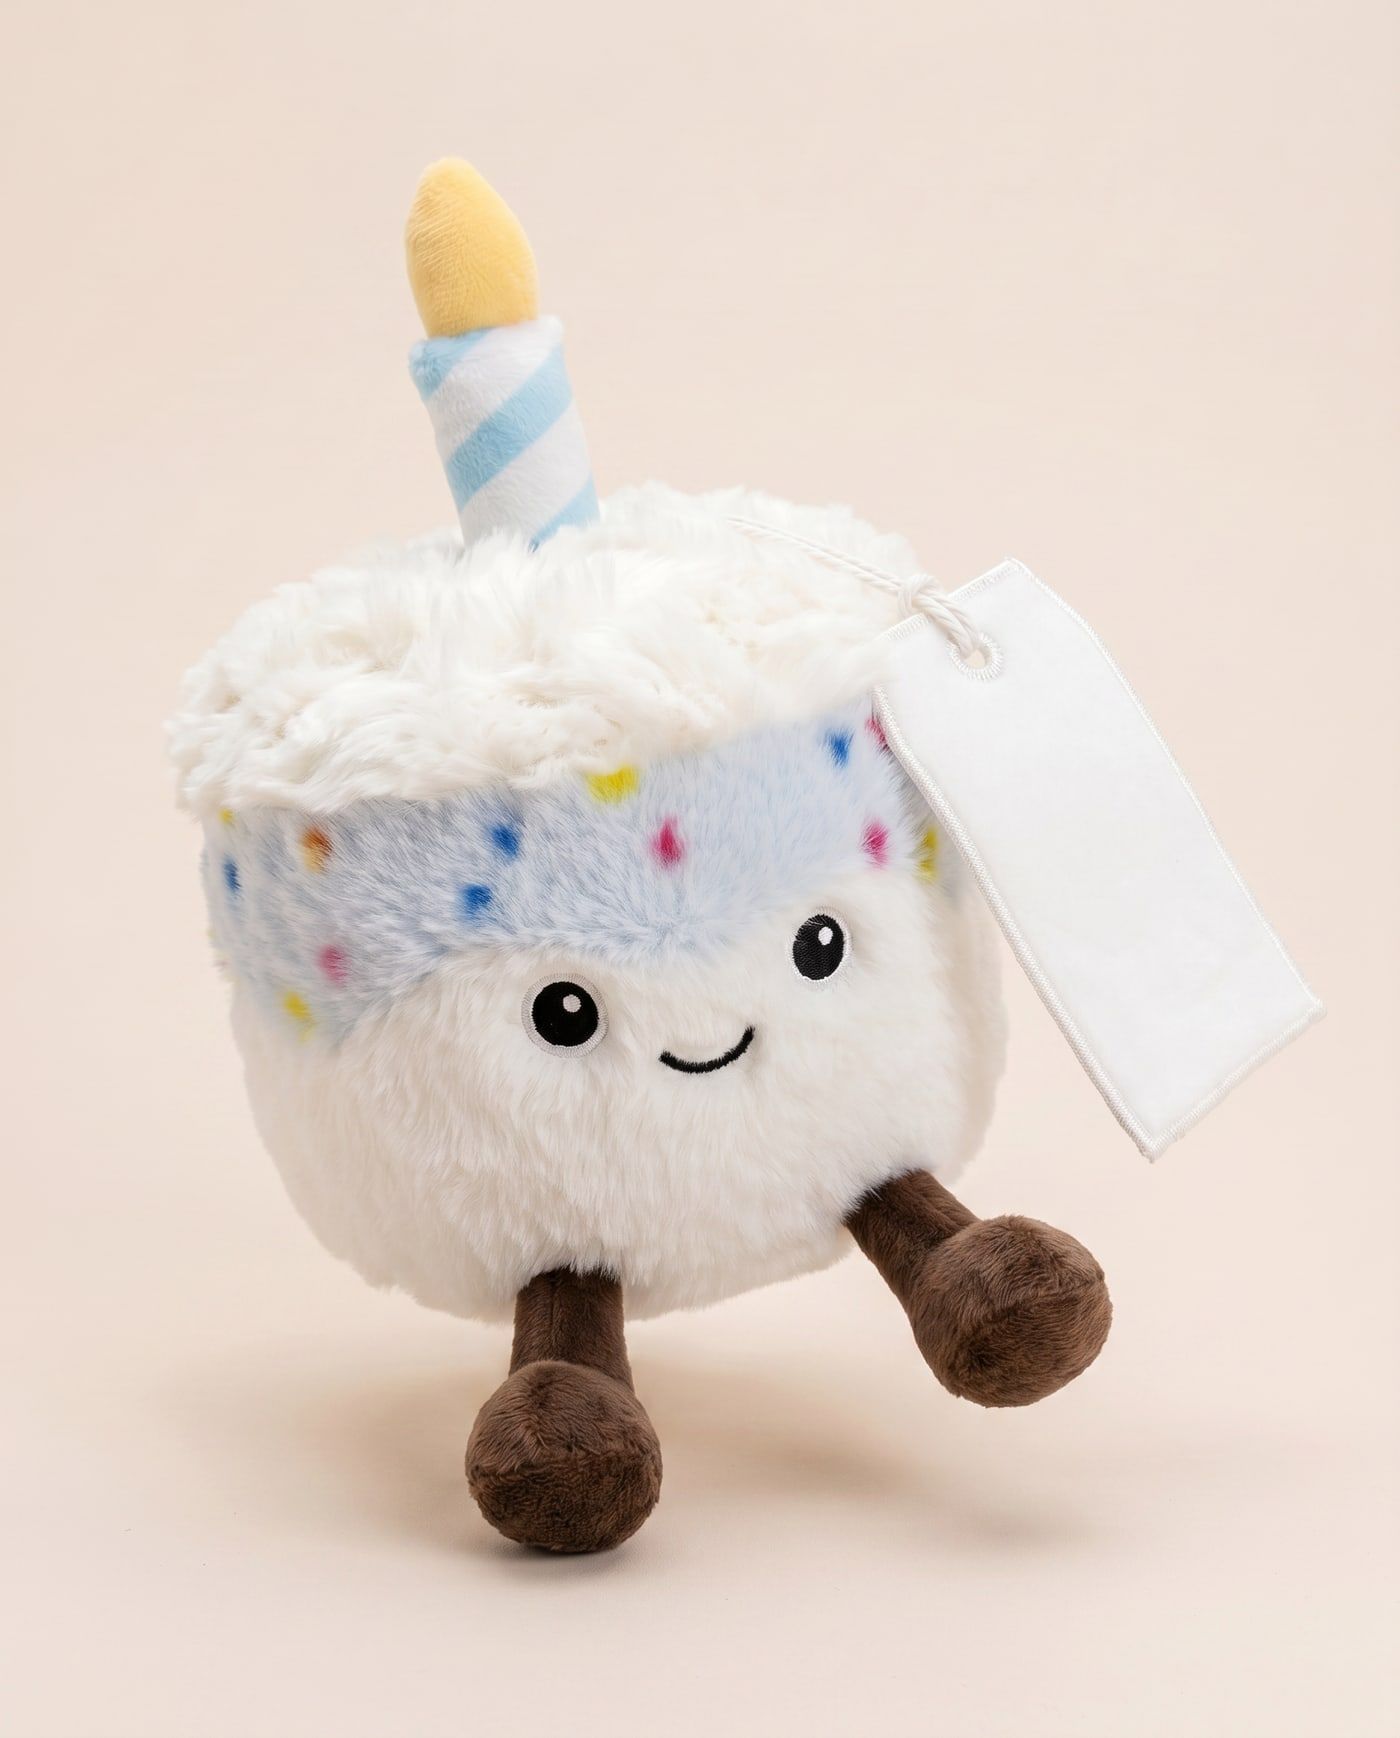
Bobby the Birthday Cake (Blue)
Meet Bobby – same party-ready charm as his sister Betty, with a drippy blue icing panel and a striped blue-and-white plush candle.
Meet Bobby